
Kitra: This was a cake I’ve wanted to try forever. It looked like a fun icebox-esque cake, and I LOVE ICEBOX CAKES. And then I turned on it.
Jordan: See, the problem is that Kitra forgot that she doesn’t really like sour cream.
According to my notes from the day we made this, sometime in Hour 3 of sour cream thoughts I said, “Sour cream is both gooey and sticky at the same time. It’s like milk that ate too much.” Which, in retrospect, makes no sense. But I stand by it.
Let’s hold up a second though, because we’re not selling this cake well. We made a crucial mistake in testing this cake, which is that we had a slice before it had time to sit. If you’ve ever made an icebox cake, you know that the magic is in letting everything meld together and turn into one beautiful whole cake rather than just layers of cookies and filling.
I had about 2 bites and rejected the whole thing as irreparably sour cream-y. But the next morning… HONEY CAKE. No longer was it a sour cream pile, but rather a lovely cake.
It has a somewhat cheesecake-like flavor, but with a cakier consistency.
The process for this cake is fascinating, to say the least. You basically turn honeycomb candy into a cookie dough that tastes exactly like the outside of a Cow Tale (other people ate those, right?). Bake those Cow Tale cookies, and layer them with a very soft and hard-to-manage sour cream mixture. Chill, do it again, and so on. I though we failed so many times. My freezer still has sour cream blops in it.
Yes, the process is a little wild, but we’ve included our tips in the recipe. Honestly, if you can be patient with the frosting (or go for a naked cake), it’s not that bad.
(We did not go for a naked cake, which is how we ended up with this as-seen-on-TV blo-pen special look.)
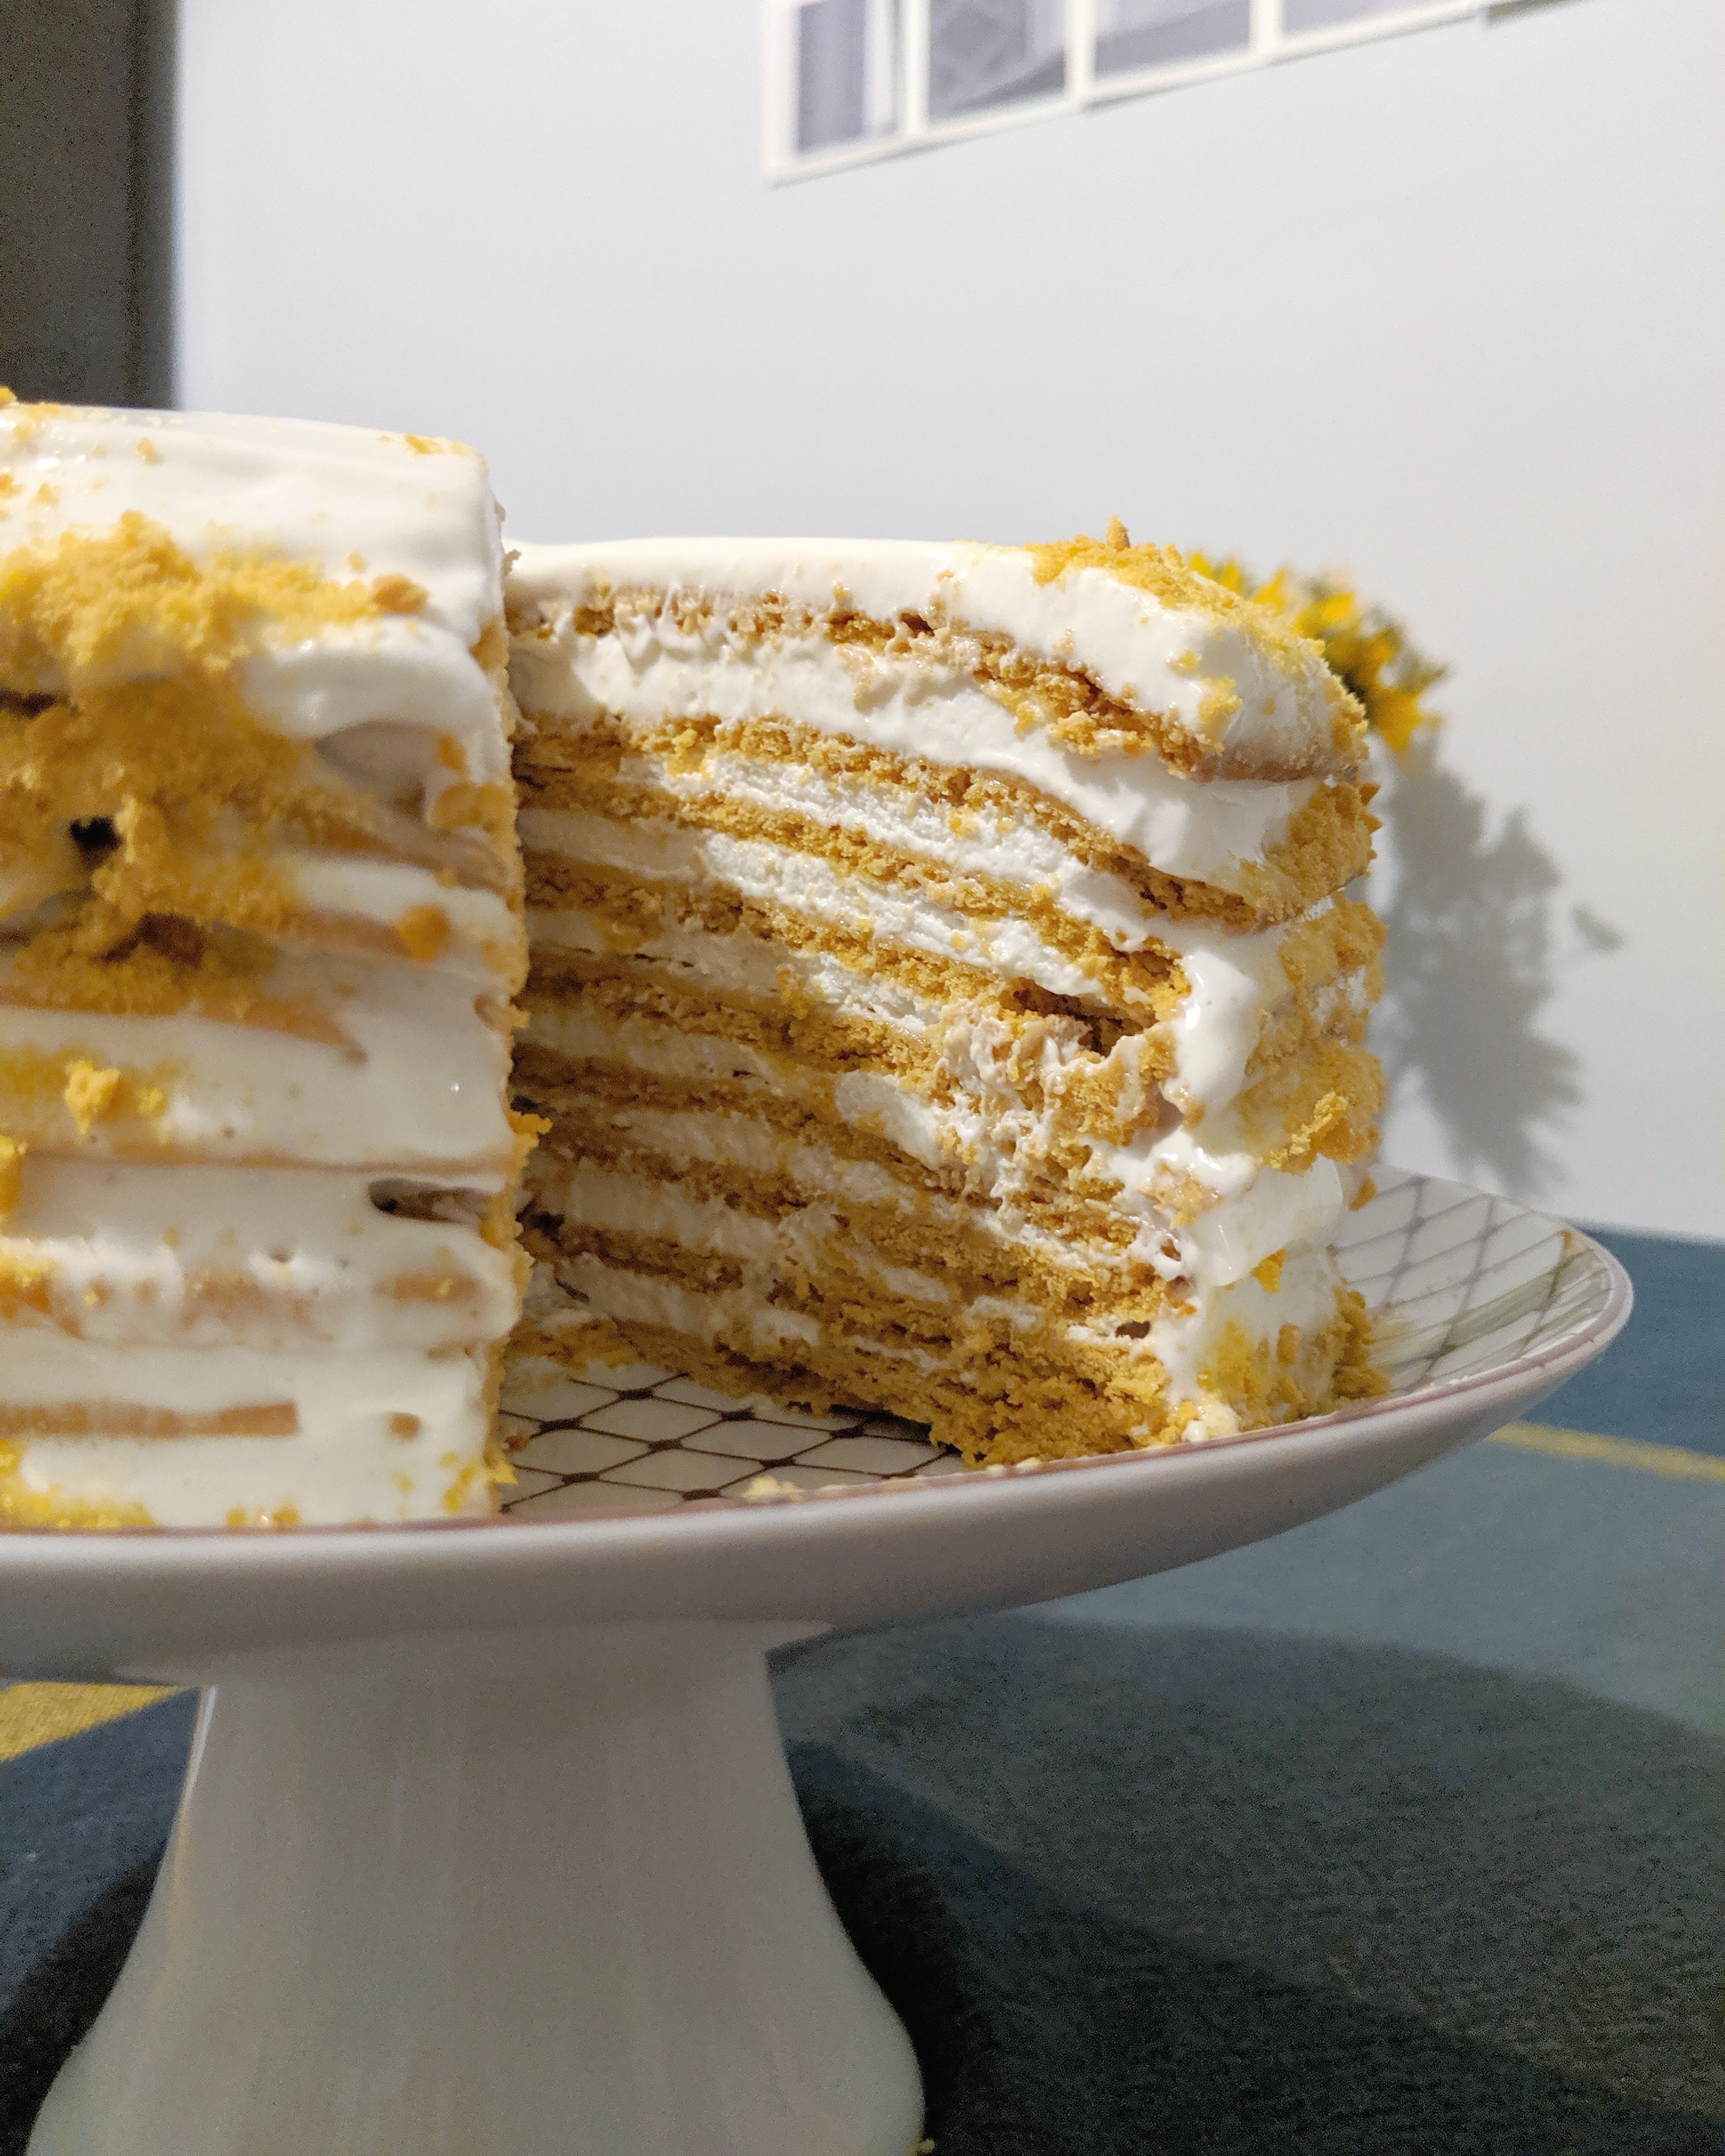
Also, a disclaimer: our pictures of the inside of the cake were all taken before I transported the leftovers across town in my purse, and therefore before the cake had a chance to settle. They are not representative at all of the final texture of the cake. They’re just prettier than the aforementioned blo-pen look.
Good luck.
Russian Honey Layer Cake
Adapted very slightly from Smitten Kitchen
Notes
Our biggest (really only) adaptation to this cake was that we whipped the crap (technical term) out of the topping. This really did seem to solve a lot of the structural problems that plagued the original version. That said, Kitra and Jordan remember this differently: Jordan thinks that we intentionally coated the outside in the topping and that it would have been fine if left just between the layers, while Kitra thinks it all oozed out when we went to go get dinner. (It took… a while… between when we made it and when we wrote it up.) If you make this, just embrace the uncertainty when you go into the assembly portion.
We somehow got nine cookies/layers out of this, but the original says you’ll end up with eight. Either one will be fine.
Ingredients
Cookie Layers
- 1/2 cup (170 grams) honey
- 1/2 cup (100 grams) sugar
- 1/2 cup (115 grams) unsalted butter
- 1 teaspoon baking soda
- 3 eggs
- 1/4 teaspoon salt
- 1 teaspoon vanilla extract
- 3 1/2 cups (455 grams) all-purpose flour
Topping
- 32 ounces sour cream
- 1 14-oz can of sweetened condensed milk
Directions
Preheat oven to 350°.
Combine honey, sugar, and butter in a medium saucepan and bring to a simmer over medium heat. Stirring occasionally, cook, in Deb’s words, “for 3 to 4 minutes (no specific temperature needed), it should get a faint shade darker and smell wonderful.” Remove from heat and stir in baking soda; it will foam up a lot but shouldn’t overflow the pan. Set the pan aside to cool slightly while you beat your eggs (preferably in something with a pour spout, like a liquid measuring cup) and prepare a few sheets of parchment paper at least 9 or 10 inches wide.
Whisking the honey mixture constantly and vigorously, dribble the eggs in as slowly as you possibly can. This will take a while, but it’s worth it to avoid making scrambled eggs on accident. Once the eggs are fully mixed in, add the flour a cup or so at a time, mixing with a spatula/spoon. It will get quite stiff toward the end but should all incorporate eventually.
On a floured counter, divide the dough into eight even pieces. One at a time, roll them out between two sheets of parchment until they’re about 9 inches across. Decide which sheet of parchment is wrinkliest; put that side on top and gently peel the parchment off the cookie. Using a plate, cake pan, or other object as a guide, trim the cookie into a circle using a paring knife. Set the dough scraps aside. Use a fork to prick the cookie all over. Put the cookie, still on its parchment, onto a baking sheet and bake for 6-8 minutes until fairly firm and slightly darkened. Once done, remove to a baking rack to cool.
Repeat with the remaining lumps of dough. We got into enough of a groove that we could actually roll out two while the last batch was in the oven, but doing them one at a time is fine too. Feel free to reuse any pieces of parchment that aren’t too scrunched up. Once all the layers are done, spread the dough scraps on a final piece of parchment and bake for 4-6 minutes until golden. You’ll crush this up for topping later if you like.
While the cookies are cooling, use an electric mixer on high to whip the sour cream and sweetened condensed milk until it’s as thick and fluffy as you think you can get it. This may take 5-10 minutes, so get comfortable if you’re using a handheld mixer. (If you don’t have an electric mixer, just whisk it all together. This step is to make it a little less runny, but Deb’s original recipe didn’t include it.)
Put a little dab of sour cream topping on a plate or a cake stand with edges to keep things from sliding too much. Lay down a cookie. If you plan on serving it on this plate, tuck some strips of parchment paper under the edges of the cookie to catch spillage. Spoon ¾ of a cup of sour cream mixture on top of the cookie and spread it smooth, not quite going to the edge. Repeat until you’ve used up all cookies; if the topping spills out everywhere, just let it go and carry on. Finish with a layer on the very top.
Put the cake and any remaining topping in the fridge until the topping has set up a bit more (at least an hour). If you’re going for a naked cake and nothing has oozed out, congratulations! You can leave it in the fridge overnight now to set up. You’re done. If you want to frost the sides and/or it oozed everywhere, refrost with anything that spilled out (and/or the leftovers) and put it back in the fridge overnight.
The next day, touch up any spills. Finely crush the leftover cookie scraps and use them to decorate the top and/or sides.

rays1114
see my blog too!
LikeLike
rays1114
can you make mint cake?!
LikeLike